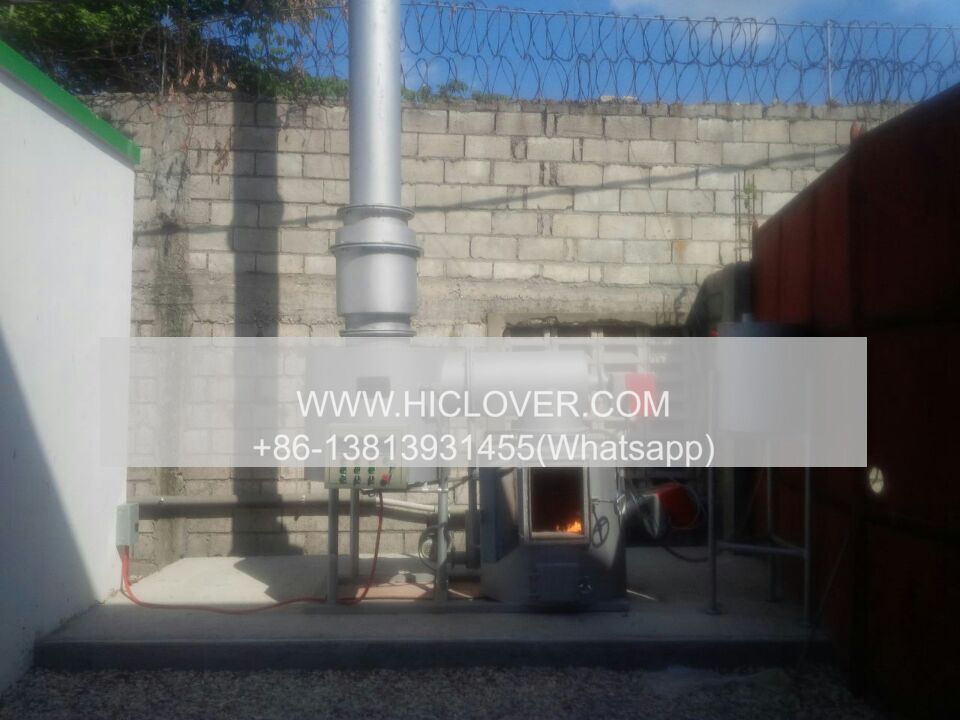
If you’re looking for a cost-effective and efficient way to dispose of your household waste, building a small incinerator for residential use could be the perfect solution. Incinerators can help reduce the amount of trash that ends up in landfills, and they can also provide a convenient way to get rid of materials that are not suitable for recycling.
Before you begin building your incinerator, it’s important to check with your local authorities to make sure that there are no regulations or restrictions in place that would prevent you from using an incinerator on your property. Once you have the green light, follow these step-by-step instructions to build your own small incinerator:
1. Gather Materials and Tools
To build your incinerator, you will need the following materials:
– A large metal drum or barrel with a removable lid
– Fireproof bricks or concrete blocks
– Metal grate or wire mesh
– Metal chimney pipe
– Metal hinges and bolts
– Heat-resistant paint
You will also need the following tools:
– Drill
– Saw
– Hammer
– Screwdriver
– Paintbrush
2. Prepare the Drum
Start by cutting a hole in the side of the drum near the bottom for the chimney pipe. Use a drill to make a starter hole, then use a saw to cut out the opening. Make sure the hole is big enough to fit the chimney pipe snugly.
Next, cut a larger hole in the lid of the drum to use as the loading and ventilation opening. This hole should be big enough to easily add and remove waste, as well as provide enough air flow for the fire.
3. Build the Base
Place the fireproof bricks or concrete blocks in a square shape on the ground, leaving a gap in the middle for the drum. The base should be sturdy and level to ensure the incinerator is stable.
4. Secure the Drum
Place the drum on top of the base and secure it in place using metal hinges and bolts. This will allow you to easily open and close the lid for loading and unloading waste.
5. Add the Chimney
Insert the chimney pipe through the hole in the side of the drum and secure it in place. Make sure the pipe extends above the top of the drum to allow smoke to escape safely.
6. Paint the Incinerator
To protect the metal drum from heat and corrosion, paint the outside with heat-resistant paint. This will help extend the life of your incinerator and keep it looking good.
7. Start Using the Incinerator
Once your incinerator is built and painted, you can start using it to dispose of household waste. Place materials that can be safely burned, such as paper, cardboard, and wood, inside the drum. Light a fire using a match or lighter and monitor the flames to ensure they burn cleanly and efficiently.
Remember to never burn plastics, rubber, batteries, or other toxic materials in your incinerator, as this can release harmful chemicals into the air. Additionally, always make sure to have a fire extinguisher or water source nearby in case of emergencies.
By following these simple steps, you can build your own small incinerator for residential use and take control of your household waste in a safe and eco-friendly way. Enjoy the convenience of having an efficient waste disposal system right in your own backyard!


